There are 2 things a girl’s gotta have during the summer months – chapstick and sun glasses. I can leave everything else behind but those are my two must have items. And this year I wanted to make my 2 favorite things a little more accessible and safe.
These 2 holders can be created in less than 5 minutes so you’ll be on your way to the beach in no time with your cute little holders in tow. 😉
Hold It! 2 quick and easy DIYs for your Favorite Summer Accessories
Let’s start with the chapstick holder, shall we?
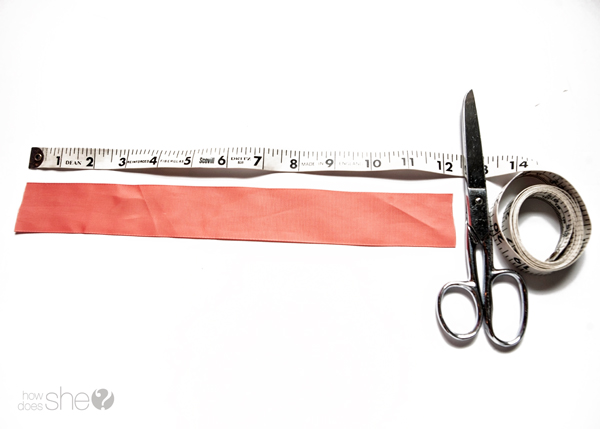
All you’ll need is 1 1/2 inch grosgrain ribbon and a key ring. Yep, that’s it!
Cut your ribbon at 12″ long.
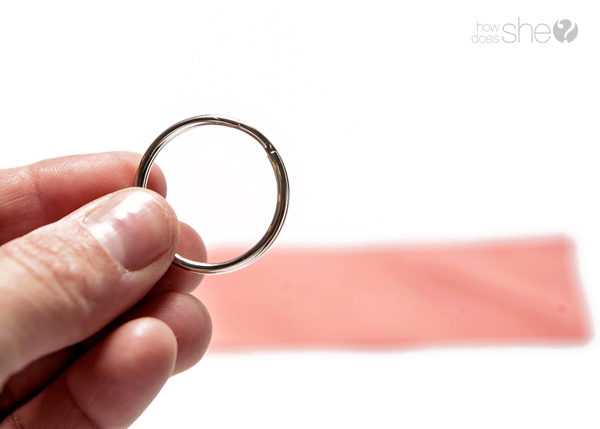
Grab your key ring
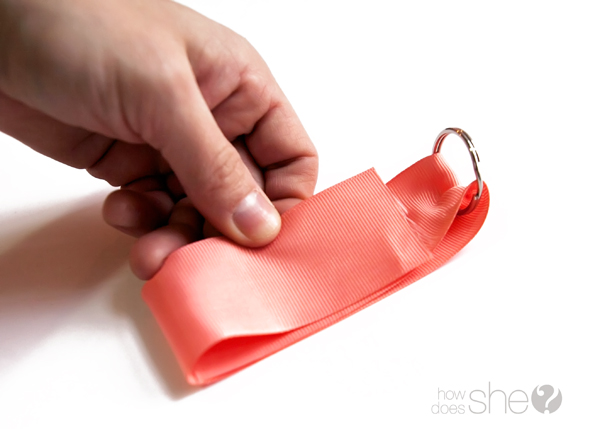
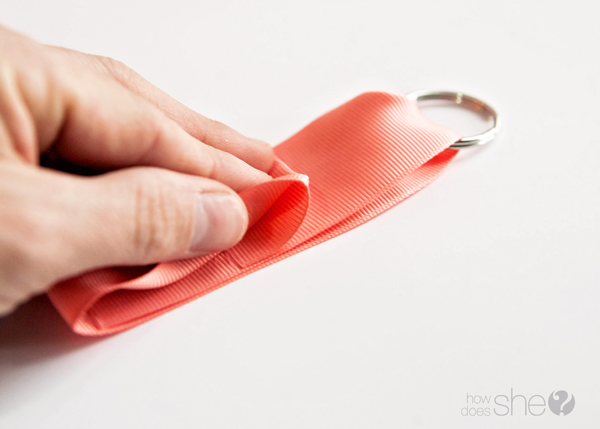
String ribbon through the key ring about 1/3 of the way down the ribbon and fold the ribbon over the key ring.

Fold the tail of the ribbon towards the key ring.
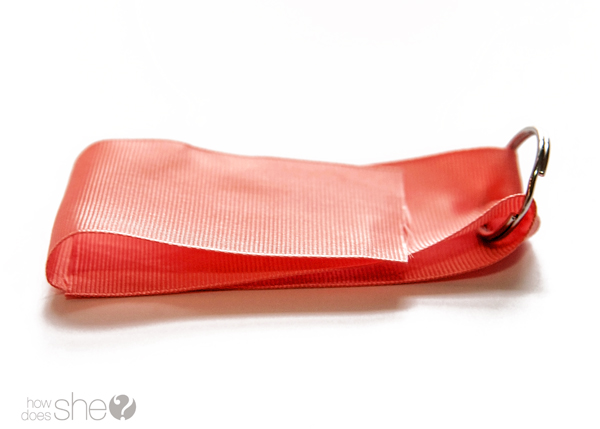
Tuck about 3/4″ inch of the ribbon down inside. This will prevent fraying.
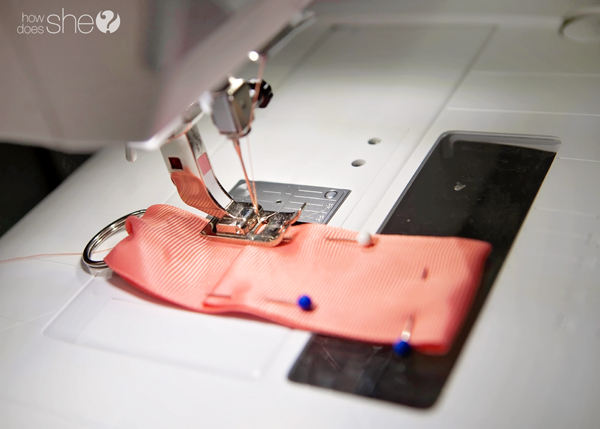
Pin in place.

Sew down both sides of the ribbon as close to the edge as possible but taking mind of sewing all the layers together.
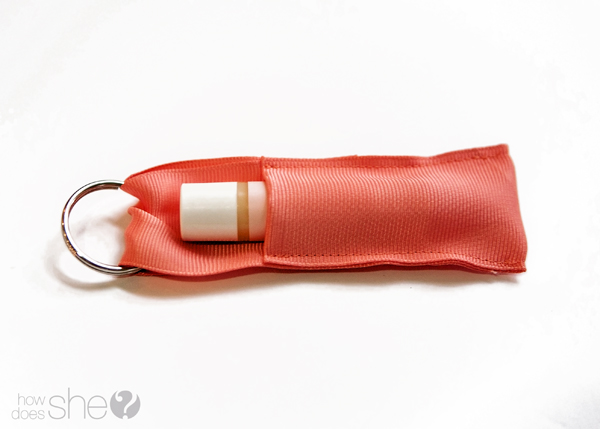
And that’s it! Yep, it’s really that easy to create an adorable little key ring chapstick holder!
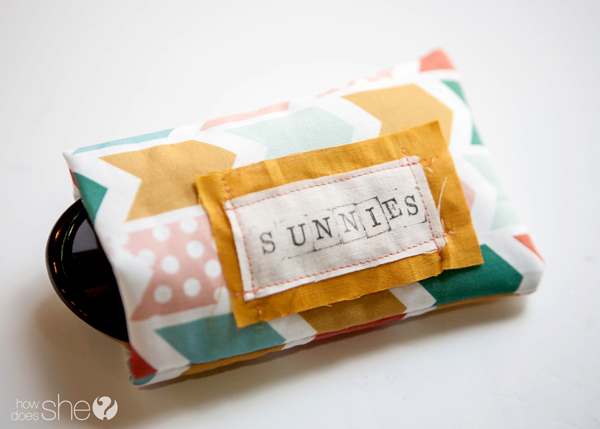
Now, let’s make something cute to hold those sunnies and keep them protected from scratches.
Here’s what you’ll need:
8″X12″ piece of fabric
8″X6″ piece of batting
a couple of scrap pieces of coordinating fabric (if you want to stamp a cute label on the front, this isn’t necessary though!)

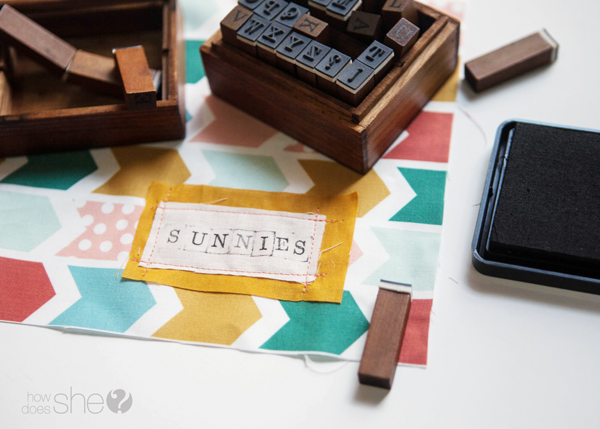
Start by placing a couple of coordinating fabrics on the lower left corner of your fabric, making sure to not get too close to the edges of your main fabric.

Sew the coordinating pieces to your main fabric with coordinating thread.

After you have sewn down all 4 sides, grab a stamp set.

I stamped out the word ‘sunnies’ but feel free to get creative here! This would make a good gift so stamping a name or initials is also a fun idea.

Now, flip over your fabric where the wrong side is facing up. Place your piece of batting on the lower part of your fabric as close to the edge as you can.
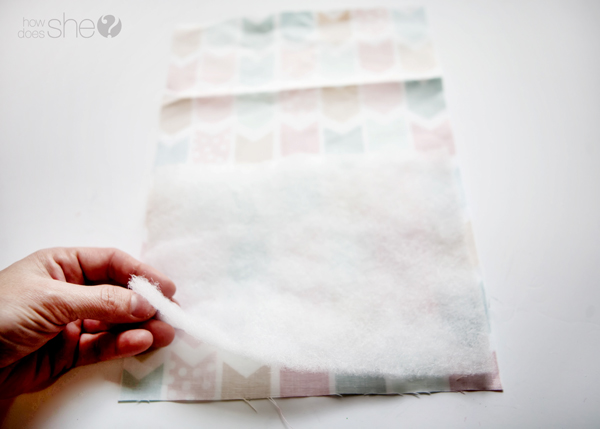
Fold over the top so that it sandwiches the batting in the middle of the fabric and sew a straight stitch along the bottom to hold the batting in place.
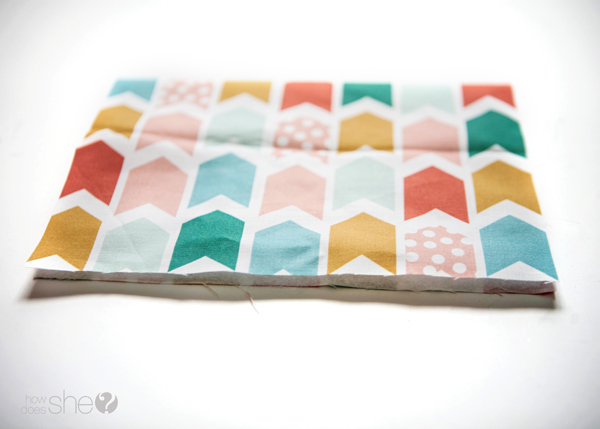
Fold your fabric in half. Your holder should be approximately 6″X4″. Pin layers in place.

Sew the open sides closed, using a 1/4″ seam allowance. Clip a little piece of fabric off at the bottom at an angle where the stitches meet. This will help create a crisper looking corner.
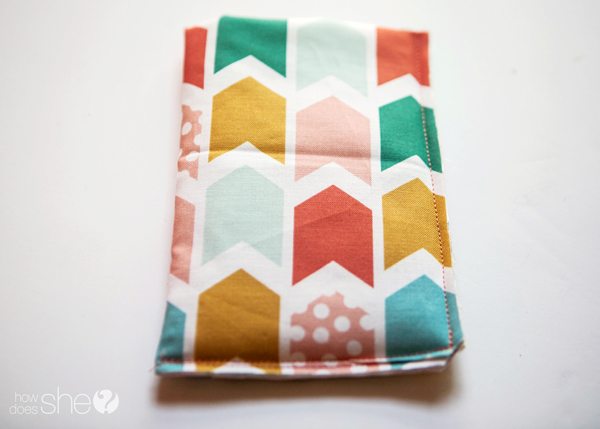
Turn holder where the stitches will be on the inside and voila! An adorable little sunglasses holder!
Grab and go! You’re ready to have some fun in the sun!

Still in the mood for some summer sewing projects to go with your adorable holders for your summer accessories? Try making one of these quick and easy DIY Spa Towels. Ooh la la!

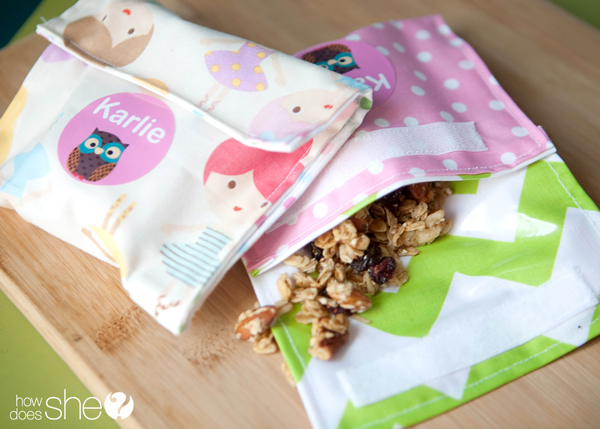
And before you plan to head out on a summer outing, whip up a few of these reusable snack bags to take along. Thrifty friends unite!
Have you seen these 17 DIY Gifts You Can Make in Less Than 30 Minutes? If you’re short on time, these are the perfect creations for you


Jaime says
These are adorable! I’m the same way, I need my sunglasses and my chapstick, I cannot wait to make these carriers to take along with me!