
I get asked all the time about fun new easy ways to decorate and I tell them mod podging!

This is a fun new way to decorate your decorations! It is super easy too. Leave the paint to stink in your garage…(you are going to be smelling glue:) Really don’t smell it…
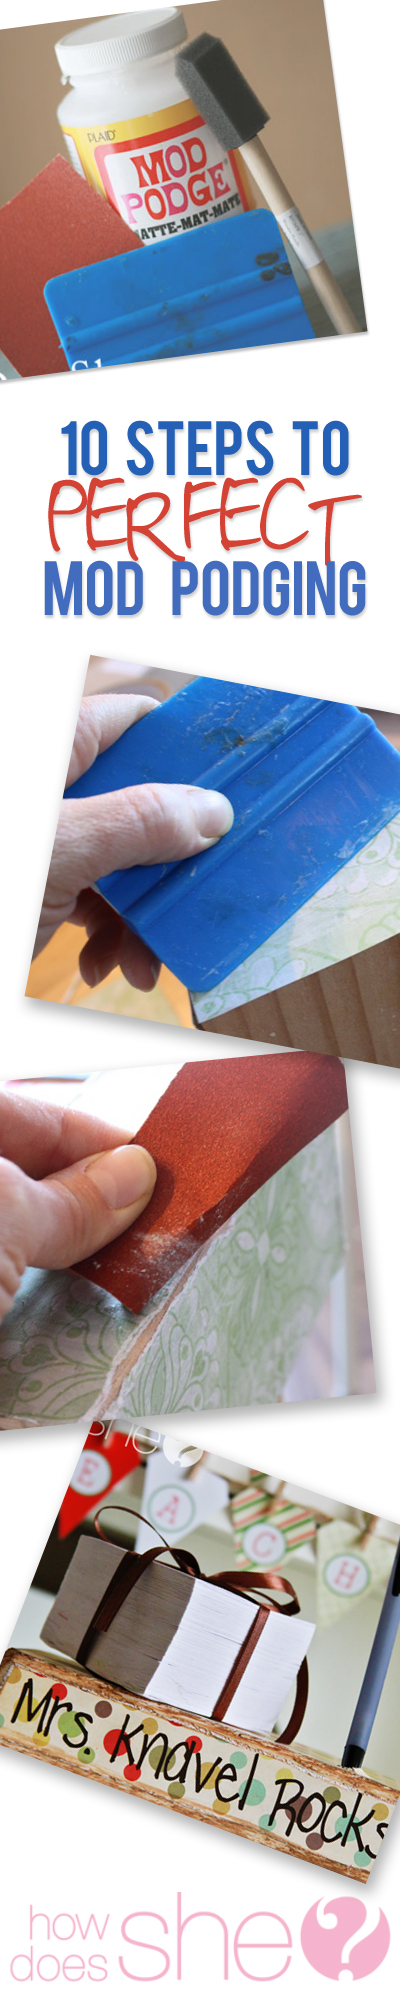
1. Buy your mod podge.
I buy the matte kind (to be specific…Mod Podge CS11302 Original 16-Ounce Glue, Matte Finish)
2. Use a foam brush. The kind you throw away!
3. Pick out your scrapbook paper. I like to use the thicker paper (it bubbles less). Choose a small print (this helps to keep your focus on the project, not over whelm it).
4. Place your item on the paper and trace around it.
5. Cut it out. It does not have to be perfect!
6. Paint a thin layer of Mod Podge on the item you want covered.
7. Place your paper on the item and squish it down.
8. Take a credit card or plastic pan scraper (that’s the blue thing in the picture) and start in the middle to rub all the bubbles out.
9. Let it dry for about 1 minute (yep 1 minute) and then sand the paper edges off.

10. For an additional step you can stain the edges. Giving it a shabby chic look. You can use a distressing stamp pad (found at craft stores) or stain (from the hardware store).

Linda Lou says
Can I use Modge Podge on a shortbread-type cookie to preserve it before hotgluing a pin on the back to wear for cookies sales?
Jeanette Hadden says
I’m going to apply a 3′ X 3′ piece of card stock to a piece of wood and then frame it and hang it on my front porch. The card stock has writing on it and I want to stain over the paper that I’ve attached to the wood to make it look more vintage. Can I do this without messing up the paper?
Courtney says
Can mod podge be used as a basecoat for acrylic paints?
Lori says
I wish you showed what it looks like stained. Soynds interesting but not sure how to it or how it’s supposed to turn out.
Mary says
Years ago (40+) WE Mod Podge (actually wallpaper paste ) a large print picture to a piece of wood, then framed it. First we used a lightbox and outlined the back of picture, what we wanted to stand out, trees, dresses, etc. Put pieces of newspaper in glue and rolled onto back of pic. Put board on and flipped it. Then every day added a coat of paste and presses down around “standouts” we took care of bubbles with a pin pick and massaging them out. This is still hanging not focal point but I love the memory of doing it so can’t get rid of it. Hope this wasn’t too confusing
Ericia Womer says
I used outdoor mod podge on a painted terra cotta pot. It is still tacky after several weeks. I have now placed it in my oven thinking the warmth from the pilot light might help dry it and get rid of the tacky feeling. Any thoughts. Does it just tack longer to dry? Need to coat it with something else? I have another pot to do but I don’t want to use outdoor mod podge if this is going to happen again.
Rhonda Dorst says
HELP I want to mob Podge a piece of wood furniture. I have many questions. First would I put something on the paper I want to use for the piece of wood furniture to stop the paper from bleeding? Second what would I put over the paper after I’ve Mob Podged it onto the wood, for protection and cleaning purposes?
Betty819 says
Would any type of wrapping paper be suitable for a mod podge project?
mantoos.com says
I like it when folks get together and share ideas. Great site,
continue the good work!
Stacy Marie Stranzl says
That’s because only toner will transfer properly. Any tutorial that says regular inkjet prints will transfer, are wrong. Only transfer PHOTOCOPIES. The toner will transfer as dark black instead of green.
Kristin says
What type of sandpaper do you use to sand the paper and stuff down? Fine or coarse?
Pamela says
Fine won’t tear up the paper as easily.
Maureenq says
Use a foam brush. The kind you throw away! – Can’t afford to throw anything away – lol
Vicky says
OMG I’m IN LOVE!!!!!!!!!! lol!! I have never used Mod Podge until now!!! I came across the Laundry Sign on the site and was thinking “Ugh How the heck do I use Mod Podge, it’s gonna be difficult!” It is literally the easiest and coolest thing ever! I was going to paint wooden letters for my son’s room, but with all the awesome scrapbook paper they make, I will Mod Podge them so I can use a variety of designs on the letters instead of me painting them, hoping and praying they turn out cute LOL. THANK YOU SO MUCH!! 🙂
Olivia says
THANKS FOR THE ADVICE! I needed this for a project I’m working on for Father’s day and included the link for these instructions on my blog!:) check it out at imadethisyoucantoo.blogspot.com and shoot me some comments/critiques!!!:)
THANKS AGAIN. I WILL BE USING THIS A LOT!!!:)
Cheech says
I want to Modge Podge a TRAY TABLE set. They are wooden. I was told by home depot that I can sand the tables & spray paint them with a spay paint that has a gloss. I came home & had the idea i could personalize the tops as a family project (photos, newspaper, magazine pages, scrap booking pages, etc.) Any ideas on how I could do this? would I just do the Modge Podge on the painted surface, smooth & let dry?
Sandra says
When I tried to mod podge computer black and white pictures to wood they turned green….even later when I tried again after spraying the computer paper with sealer on the back and front, a few still had a green on them….scared to do the whole thing with MP.
Emily says
why the matte. What affect does it have?
Linds says
blowdrying is a BIG help! Thanks for the tips!
Rene' says
Do you have photos or tips on how to do the staining on the edges?
I am am afraid I’m going to overdo it!
Alison says
Make sure to wipe it off with a paper towel when you are finished…and just do the edges:)
Vanessa W says
Swipe an ink pad or distress inks from Tim Holtz. Get this at Michael’s! Fast, easy peasy!
~Vanessa W
ColleenwithMurals&More says
Love these tips! I included them in my ModPodge post today. If you get a chance, drop by!
Have a great weekend!
.-= ColleenwithMurals&More´s last blog ..Feature Friday – ModPodge =-.
AZ Momma says
Anyone have any pointers for Mod Podging larger areas with fabric? I have an idea festering in my brain and I wanna make sure I do it right the first time!! Thanks!
Lissa says
I would follow the tips given above, except maybe do it just a small section at a time. Since fabric is more bendy and pliable than paper, you can do a small section (make sure NOT to skip the scraping/smoothing out part) and then when it dries, do the next section.
Angelina says
I have heard that if you spread the fabric out (right side down) and cover the back with Modge Podge that it handles better and won’t fray when you cut it! Hope this helps!
Krista says
Make sure you use Mod podge fabric instead of the matte type above! I ruined 1 or 2 projects before I figured this out!
Amanda @ Looking Glass Jewels says
This is a great tutorial! I am using mod podge tonight and will keep your tips in mind! (I almost typed “tits” instead of “tips” – THAT would have been embarrassing! Yikes!)
~Amanda @Looking Glass Jewels
🙂
.-= Amanda @ Looking Glass Jewels´s last blog ..Wednesday is Tip Day: How to Make Perfect Boiled Eggs! =-.
Nancy says
so simple – and CUTE!
Marsha Stevens says
I have mod podged a candle with real autumn leaves. I am going to try mod podge on frames next when I get a chance.